🧱 1. Why should you build your own cold wallet?
Although common wallets on the market (including Ledger and Trezor) are highly secure, they still rely on firmware, servers and even USB interfaces - theoretically there is still a possibility of being hacked.
Advantages of building your own cold wallet:
Completely offline, no network connection
No reliance on third-party companies
Highest security level
Costs almost nothing (just an old computer)
🛠️ 2. Prepare materials
The equipment you need is very simple:
🖥️ An old computer (or Raspberry Pi)
💾 A USB or SD card (for transferring transaction data)
🔐 A secure storage place (fireproof safe, metal plate, paper backup)
🧑💻 A clean operating system (recommended: Ubuntu, Tails, or Win)
📌 Remember: This device will never be connected to the Internet, and Wi-Fi and Ethernet will be turned off.
🧩 3. Construction method
✅ Method 1: Use an old computer to install a new system
Restore factory settings to clear all old data
Install Ubuntu or Windows
Disable network function in BIOS
Completely isolate the network environment and never connect to the Internet
✅ Method 2: Use a bootable Live OS
Download Tails or Ubuntu
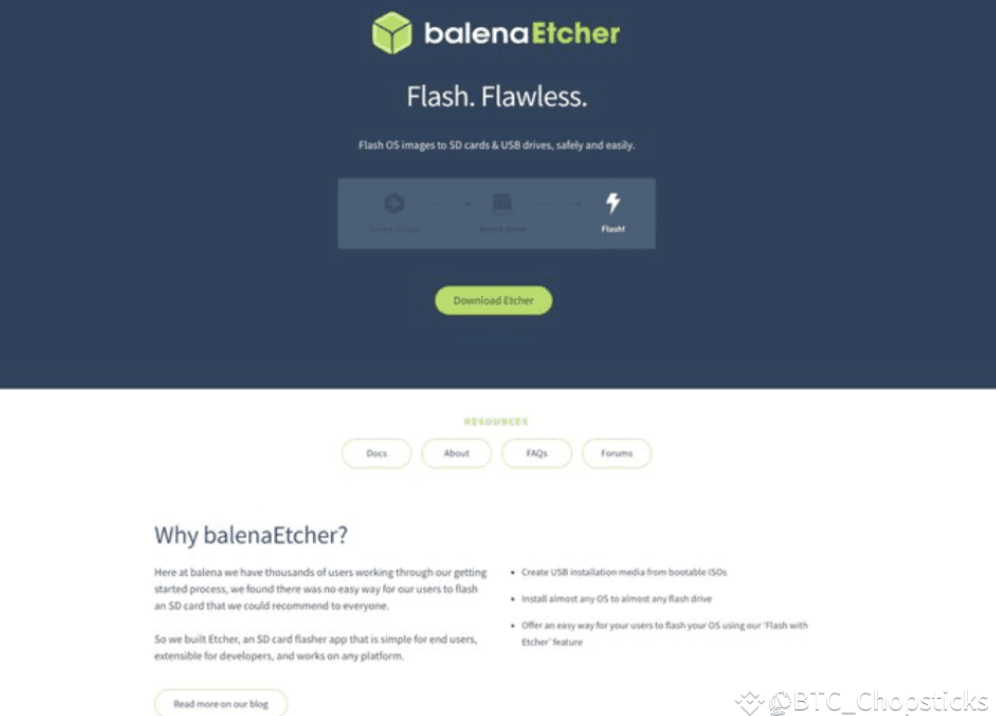
Write to USB with balenaEtcher
Boot from USB every time, no hard disk required, no trace left
🔐 4. Install cold wallet software (offline installation is recommended)
Bitcoin wallet:
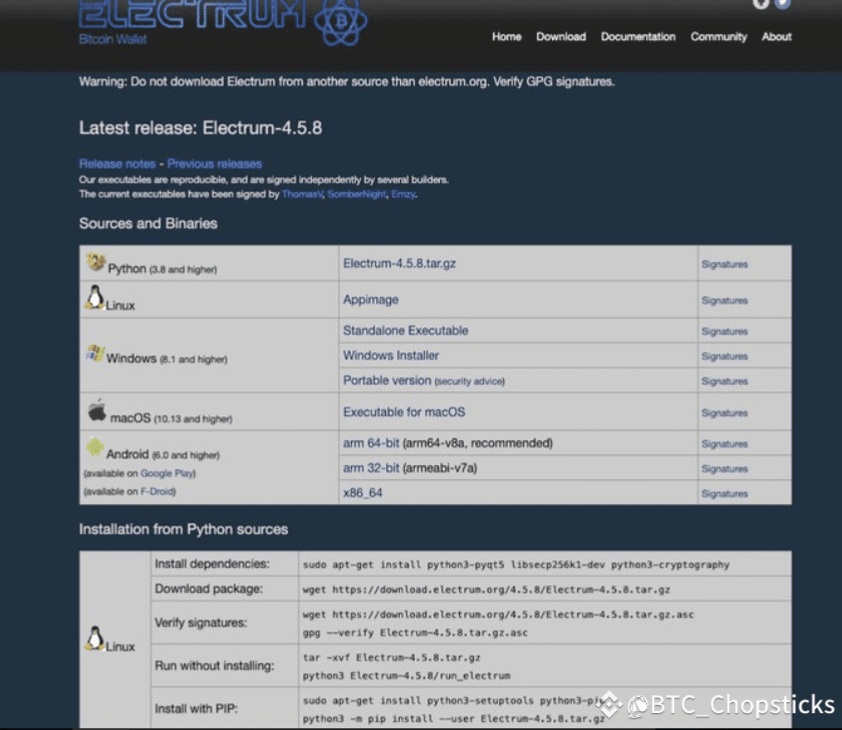
Electrum: lightweight and supports offline signatures
Sparrow Wallet: Privacy-rich and feature-rich
Specter Desktop: Support for multi-signature configuration
Multi-currency support:
Unstoppable Wallet: BTC / ETH / Multichain
MyEtherWallet: Ethereum and ERC-20
Wasabi Wallet: Strong privacy, dedicated to Bitcoin
🔍 Be sure to verify the PGP signature before installation to confirm that the software download source is safe.
📄 5. Steps to create a cold wallet
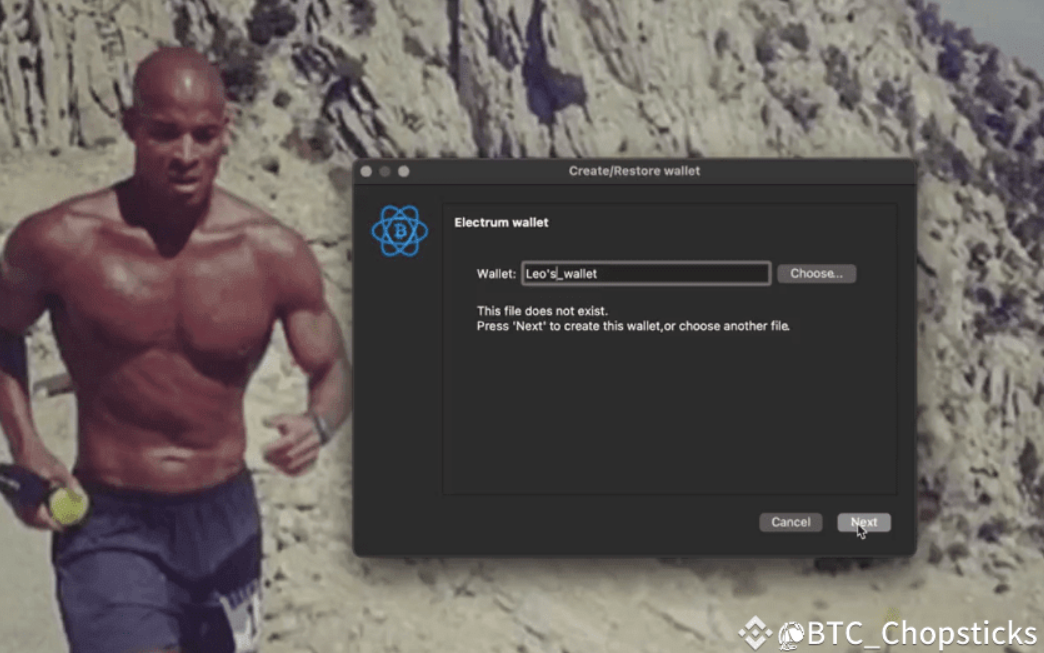
Open the wallet app and select "Create New Wallet"
Generate a mnemonic phrase (12 or 24 words) - write it down and save it by hand, do not take a screenshot or save it in the cloud
Set a strong password (optional but recommended)
Generate a receiving address and prepare to receive coins
💸 6. How to use a cold wallet to send and receive coins?
Receive Coins:
Open the offline wallet and generate a receiving address
Send coins to this address on an Internet-connected device
It is recommended to use a Watch-only Wallet to track your balance
Coin issuance:
Create unsigned transactions (.txn files) on an online device
Transfer to cold wallet using USB or QR code
Sign on the cold wallet and then export the signed transaction
Return to the connected device to broadcast the transaction to the chain and complete the sending
The benefit of this is that the private key never leaves the offline device and can never be stolen by hackers.
⚠️ 7. Key reminders
If you are not familiar with computers, networks, or operating systems, be sure to learn the basics in advance.
A small mistake may result in the loss of assets
Always back up your mnemonics and never save them on an internet-connected device or cloud service
✅ Conclusion:
“True security does not come from relying on others, but from holding it in your own hands.”
Building an offline cold wallet may sound complicated, but it is actually very practical and doable.
What you need is not technical talent, but meticulousness, patience and a little hands-on ability.
Once the setup is complete, you will have a wallet system that is more secure and unhackable than any hardware wallet on the market.
🧱 Safety starts with you, wealth is controlled by you.
Are you ready to build your own cold wallet fortress?